
So you just registered to Fitune. Now what?
Well, in this blog we will talk you through the 10 quick steps and best practices to get you up and running in no time!
We’re here to help you grow your business, one step at a time!
1. Create your Locations or Venues
First thing you need to do after creating your account is to set up your locations.
When you register we automatically create your “Online venue”, but Fitune also supports in-person locations. You can set up as many in-person locations as you want.
To do so, simply go to “Locations” in the side menu and click on “Create”.
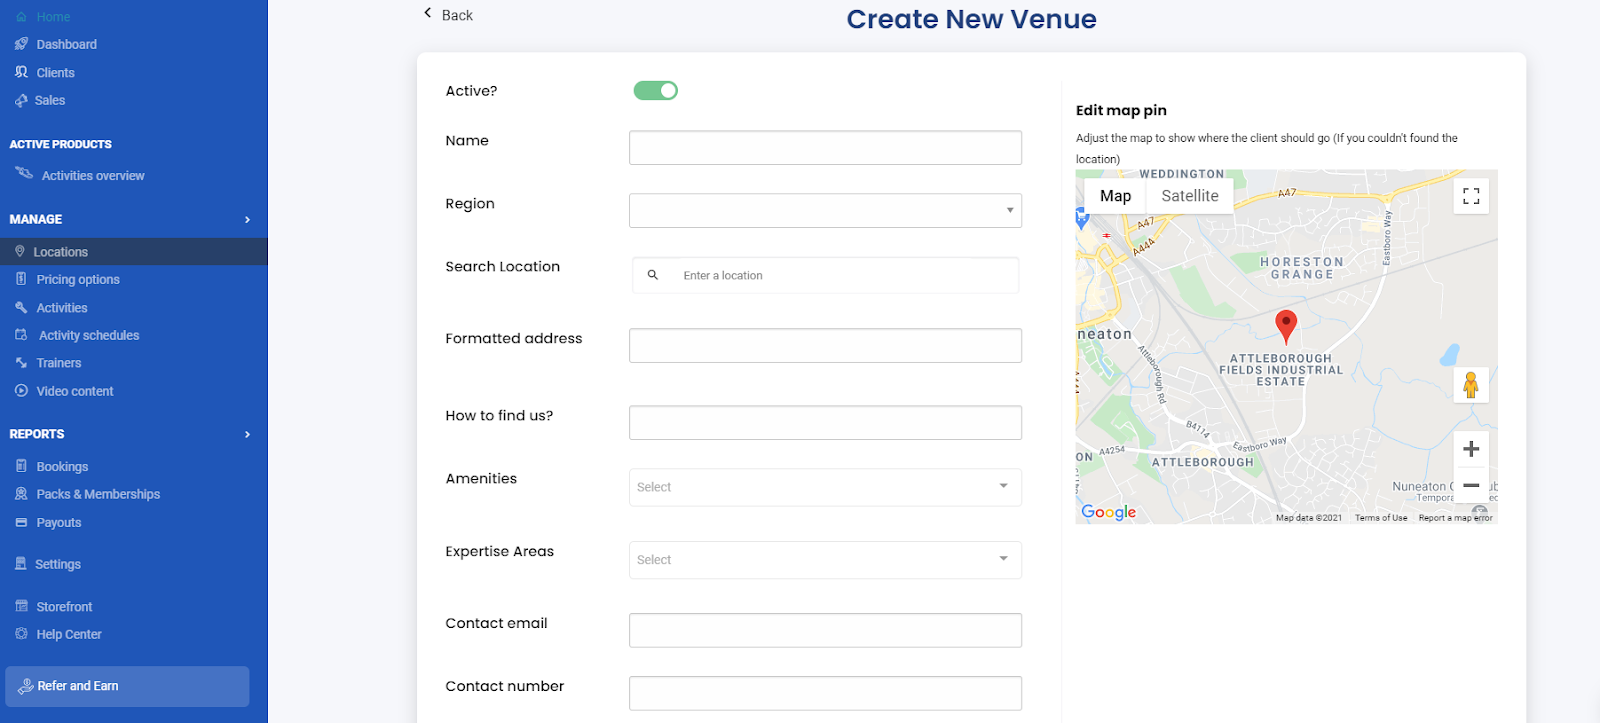
Click here to learn more about creating locations.
2. Set your prices
With Fitune, you can monetise through memberships, packs or offer pay-as-you-go pricing. To create your pricing, just click on “Pricing options”.
Packages can be set up as recurring payments, or one time payments. Whereas memberships are set up as recurring payments by default. You can create as many as you want, and have the freedom to choose what they actually include, by filtering locations and activities.
You can even include or exclude your on-demand videos in these memberships and packs.

Click here to learn more about pricing options.
3. Create your Activities
To create activities, click on “Activities”, then “Create” and choose whether you want to create a virtual or in-person activity.
You can then just fill in the activity details, including a name, description and photo. You can also mark them as one-on-one activities and set them as free.
Don’t worry about the prices and schedules yet, we’ll discuss these in the next step.

Click here to learn more about activities.
4. Create your schedule
Now that you have created your activities, it’s time to create your schedules. Click on “Activity Schedules”, select your desired venue (by default the online venue is selected), and fill in the details.
You can add multiple schedules to the same activity, and you can even limit the number of spaces, and set a minimum number of hours your clients can book prior to the start of the activity (very handy for those 1vs1 sessions).
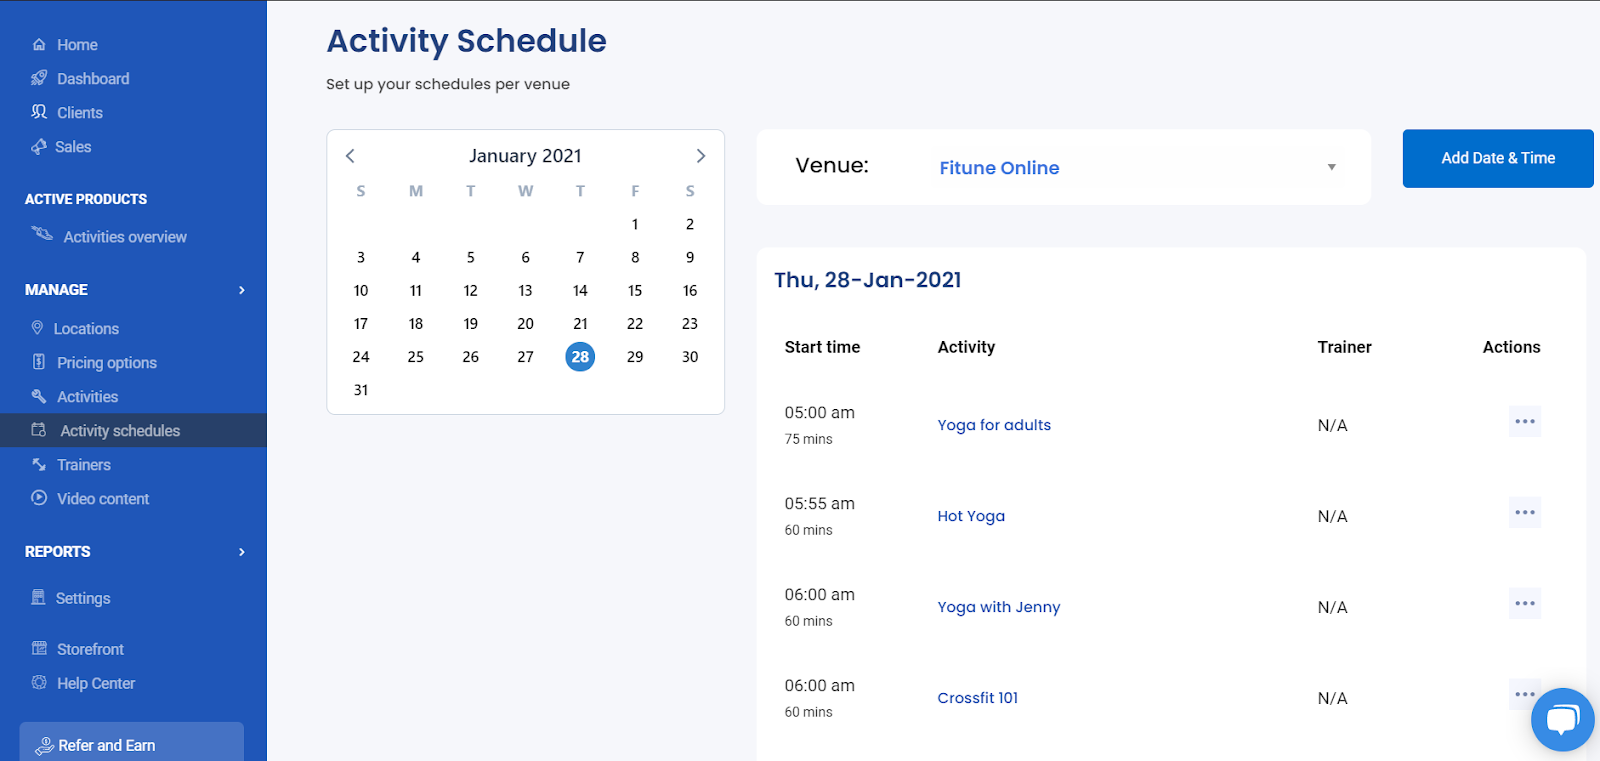
Click here to learn more about schedules.
5. Adding streaming links to your activities
FYI: After you have added your schedules, you and your clients can already see your scheduled activities on your storefront/website.
Now it's time to set up your streaming links! Simply go to “Activities overview”, and press ‘’add URL’’ on the class you’d like to add a link to. Then paste the link of your desired streaming platform where it says “Live stream url”. In the “Joining stream info” you can add any further information including passwords, instructions etc.
Whatever link and joining info you add is sent automatically to all the people that register to the chosen activity.
If you use Zoom you can use our Zoom integrationJust connect your account, and our integration will generate a Zoom link for you. You can finetune your settings and save them for “This and all future occasions'' so you only need to set it up once. Everything will be automatically synced with your zoom account.
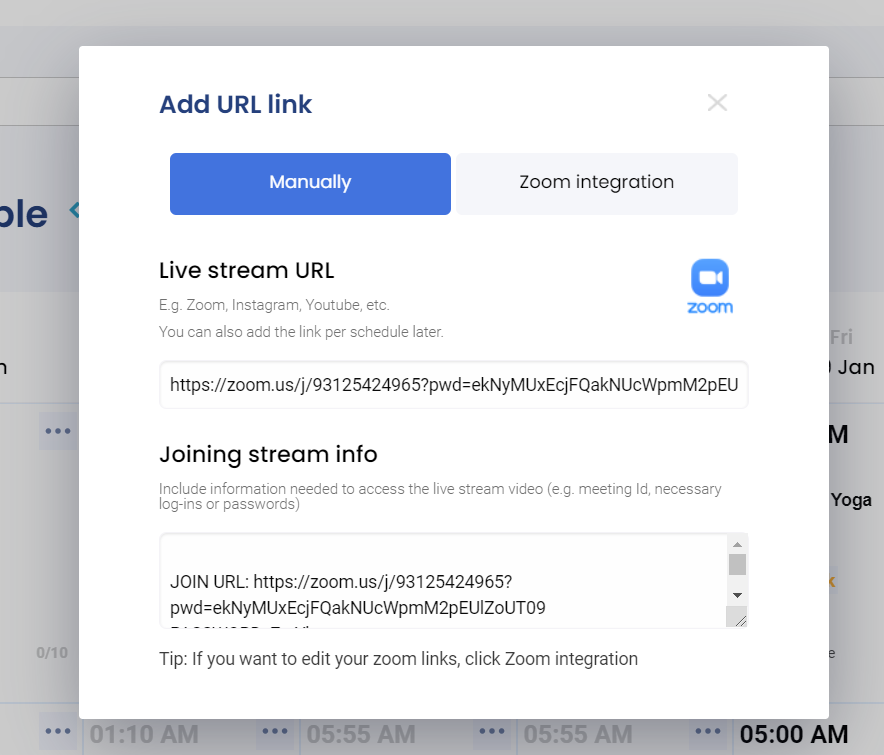
Click here to learn more about adding links to your activities.
6. Connect your payment provider: Stripe
Our payment processor is Stripe. So all you got to do is connect your stripe account by going into “Settings” and then “Payment gateway”, you will see the option to link your account or create one in case you don’t have one yet.
Don’t worry, creating a Stripe account is free and very easy! Their customer service is great and they use bank grade encryption for any of your payments.
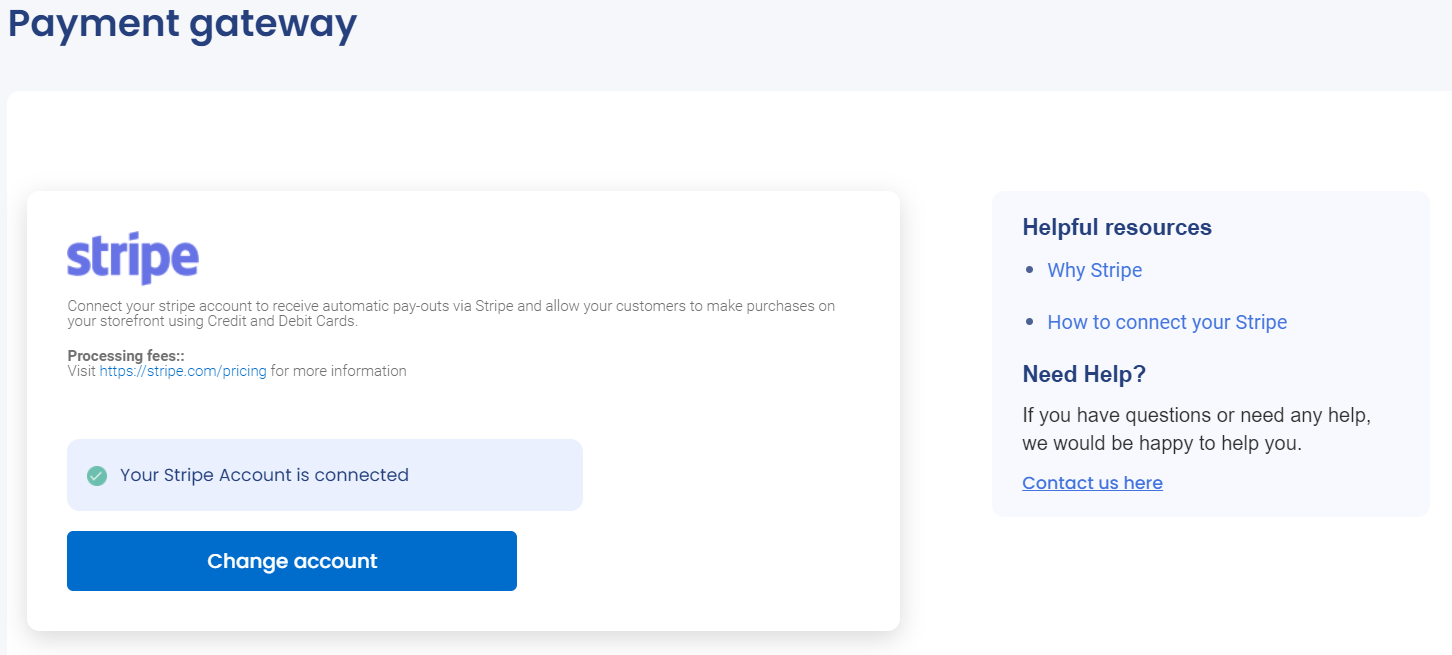
Click here to learn more about connecting your Stripe account.
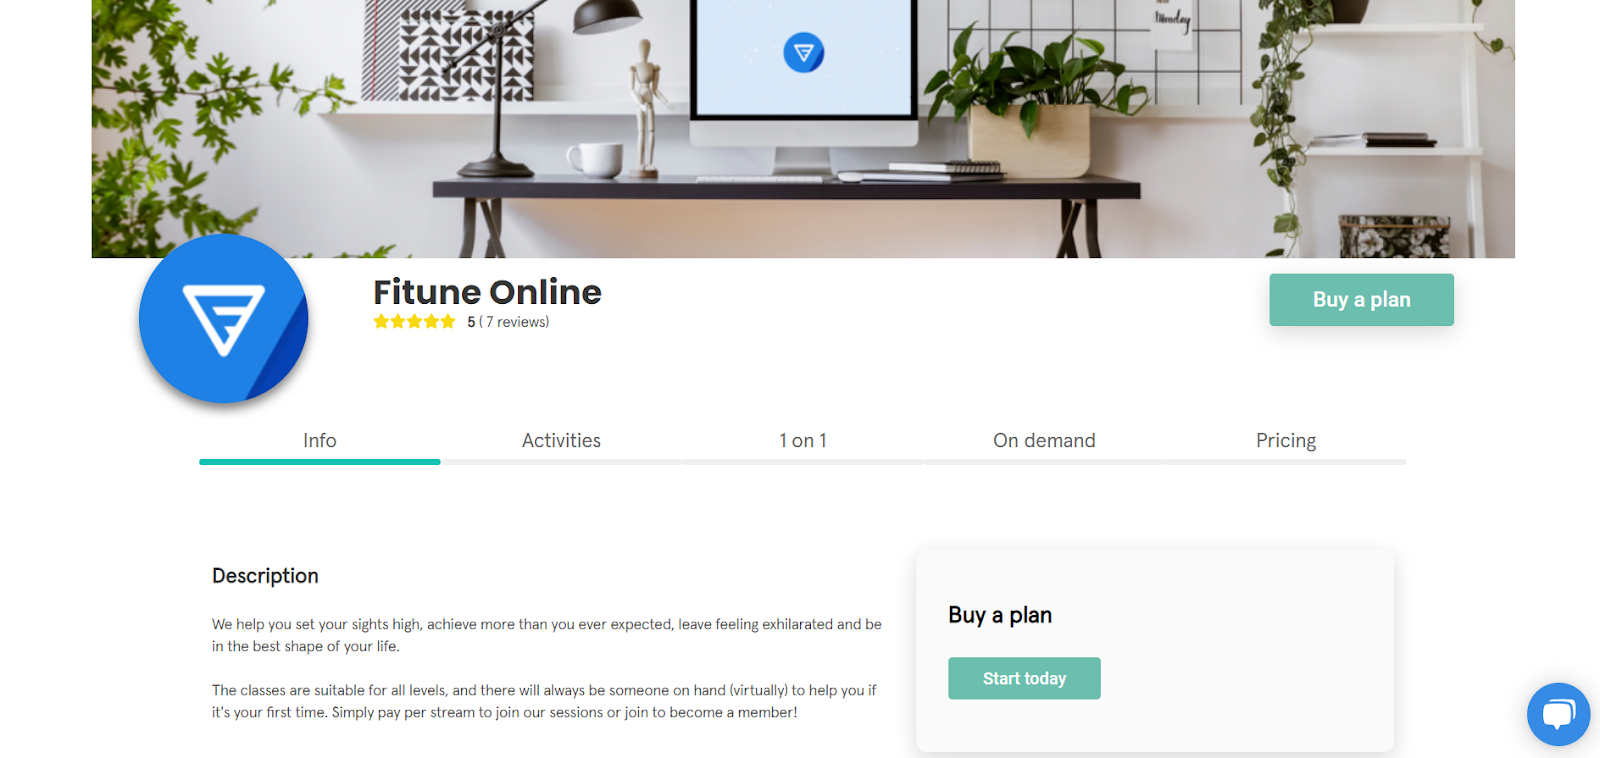
7. Add your branding to your Storefront or embed it to your website
Fitune gives you some useful customization options to make your Storefront look more in line with your brand. Change the logo, the banner, add your business description, social media links and more!
Just go to “Settings”, “Storefront Settings” and make it look the way you want.
If you want to embed your booking widget to your existing website, go to “Settings”, “Storefront settings” and then click on the Embed widget tab. You will see a link with an HTML code, just copy and paste it to your existing website builder. It works with any type of website, whether it’s coded, Squarespace, Wix, Wordpress, etc.
Click here to learn more about how to customize your Storefront.
8. Final steps
You’re pretty much ready to go! Other good practices:
Personalise the email notifications that your customers receive, by going to “Settings” and then “Email templates”.
You can also add a liability waiver and terms and conditions, by going to “Settings”, “General Settings” and then “Account Settings”.
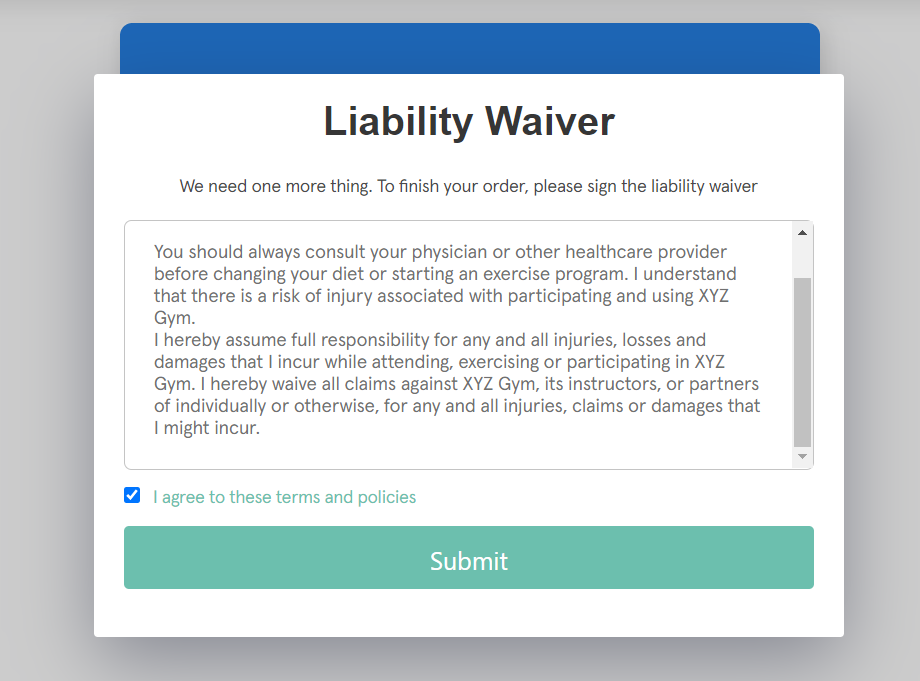
Click here to learn more about how to add a liability waiver and customize email templates.
9. Test the experience before going live
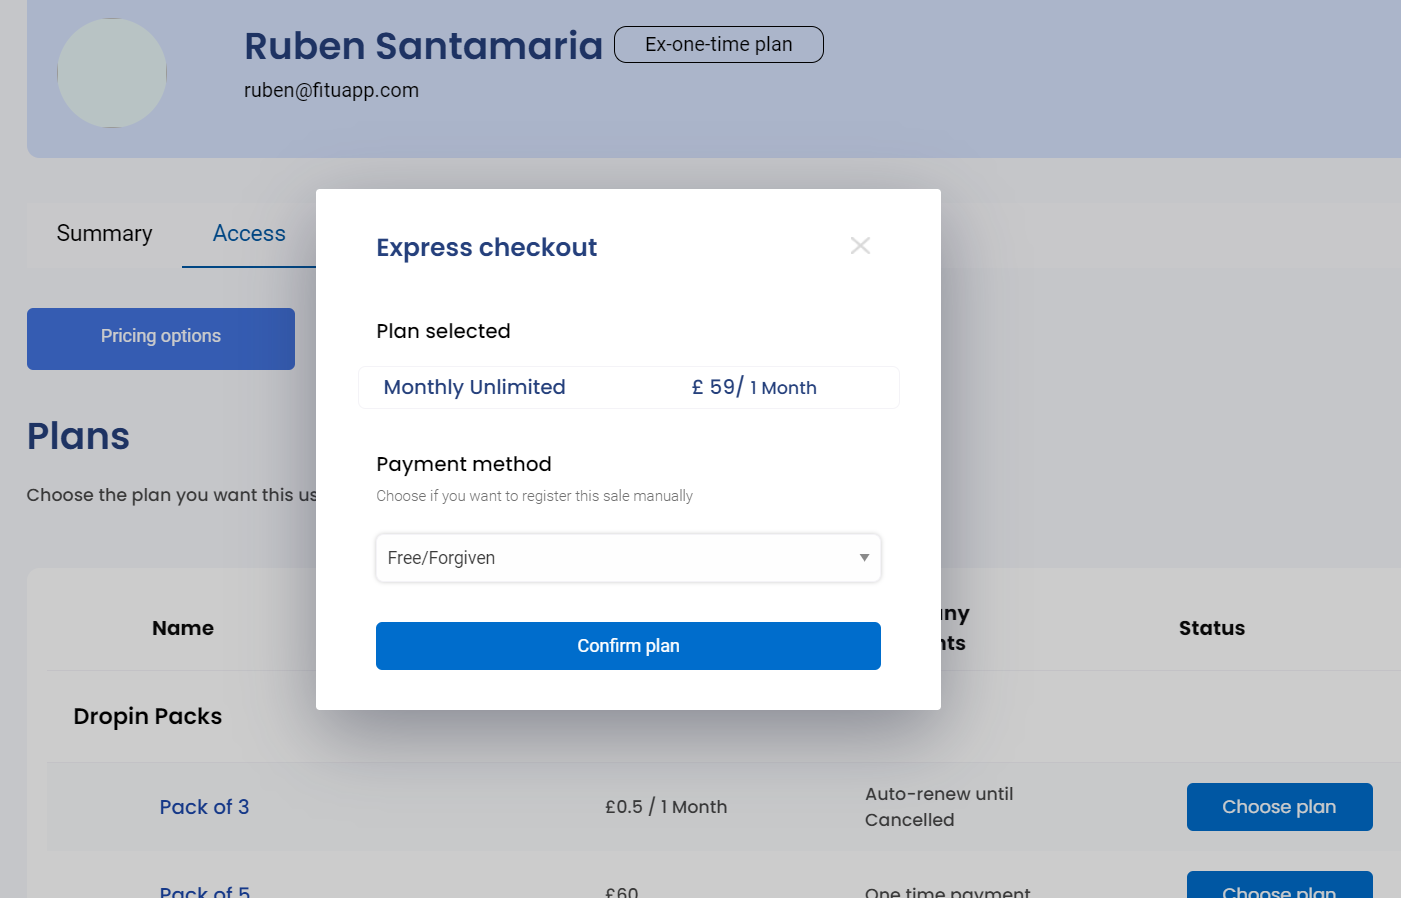
If you want to know how your clients experience your new system you can create a dummy account on your own storefront and assign yourself a free plan
You can assign your test account a free membership by going to the ‘’clients’’ section, look for the account you signed up with and click on it. Then navigate to the “Access tab” and assign any of the pricing options you created by clicking on “Choose plan” and choose “Free/forgiven” as payment method, then “Confirm plan”.
Now you can go back to your Storefront and book an activity to test your client’s experience.
10. Invite your existing clients
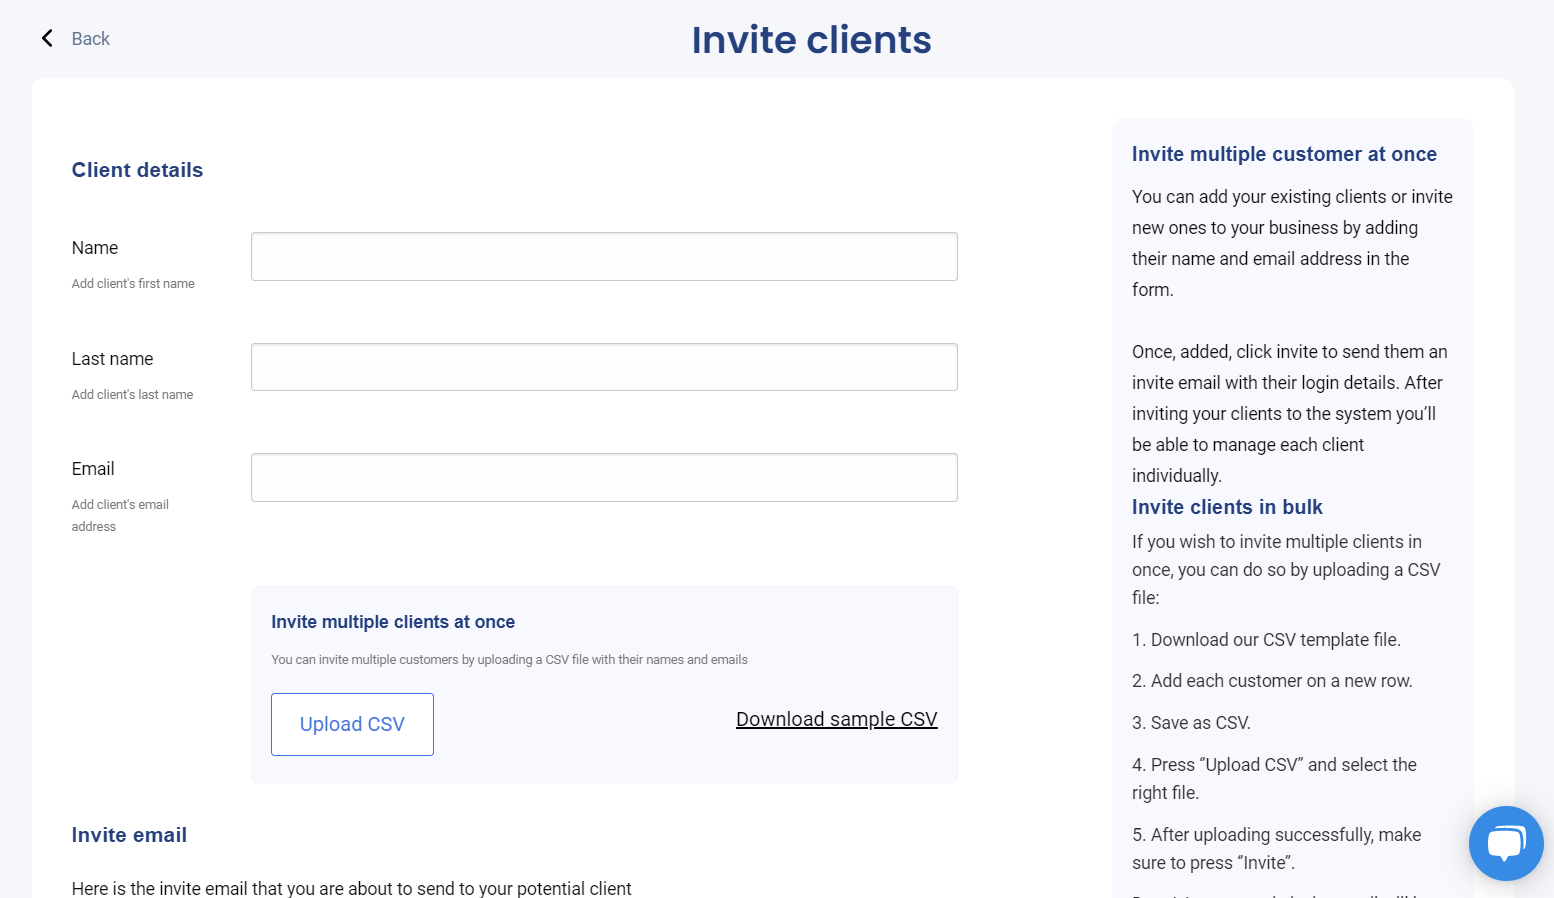
Now that everything is set up, it’s time to start receiving bookings. You can share your Storefront link on social media or, if you’re coming from a different platform and already have clients, you can invite them to Fitune with our Invite members functionality.
To do so, go to “Clients” and then “Invite members”. You can invite one by one or upload an excel template and invite as many as you want.
We then automatically email all your clients and leads with their new login details and the link to your Storefront so they can start booking right away.
You can customize this email if you want to.
Click here to learn more about how to invite clients.
Need extra help?
If you have questions down the road, we have many ways to help you! We have a knowledge base full of articles that go in full detail on how to do everything in Fitune, you can take a look here.
Prefer video tutorials? We got you covered, you can check our YouTube channel here. If you have a specific question or need something else, we’re always just one click away.


.webp)


