.avif)
At Fitune we understand that you want an easy platform to run your fitness business. That’s why today we’re going to show you how you can get set up and start receiving bookings in a matter of minutes.
As you may know, you can use Fitune in two ways.
- If you don’t have a website? - Don't worry, we automatically create a brandable website for you. You can use this website to promote your business and give your clients an easy way to book.
- Already have a website? - That's fine as well! Simply embed our brandable booking widget to your existing website.
So... let’s get started and show you how to get ready to receive bookings!
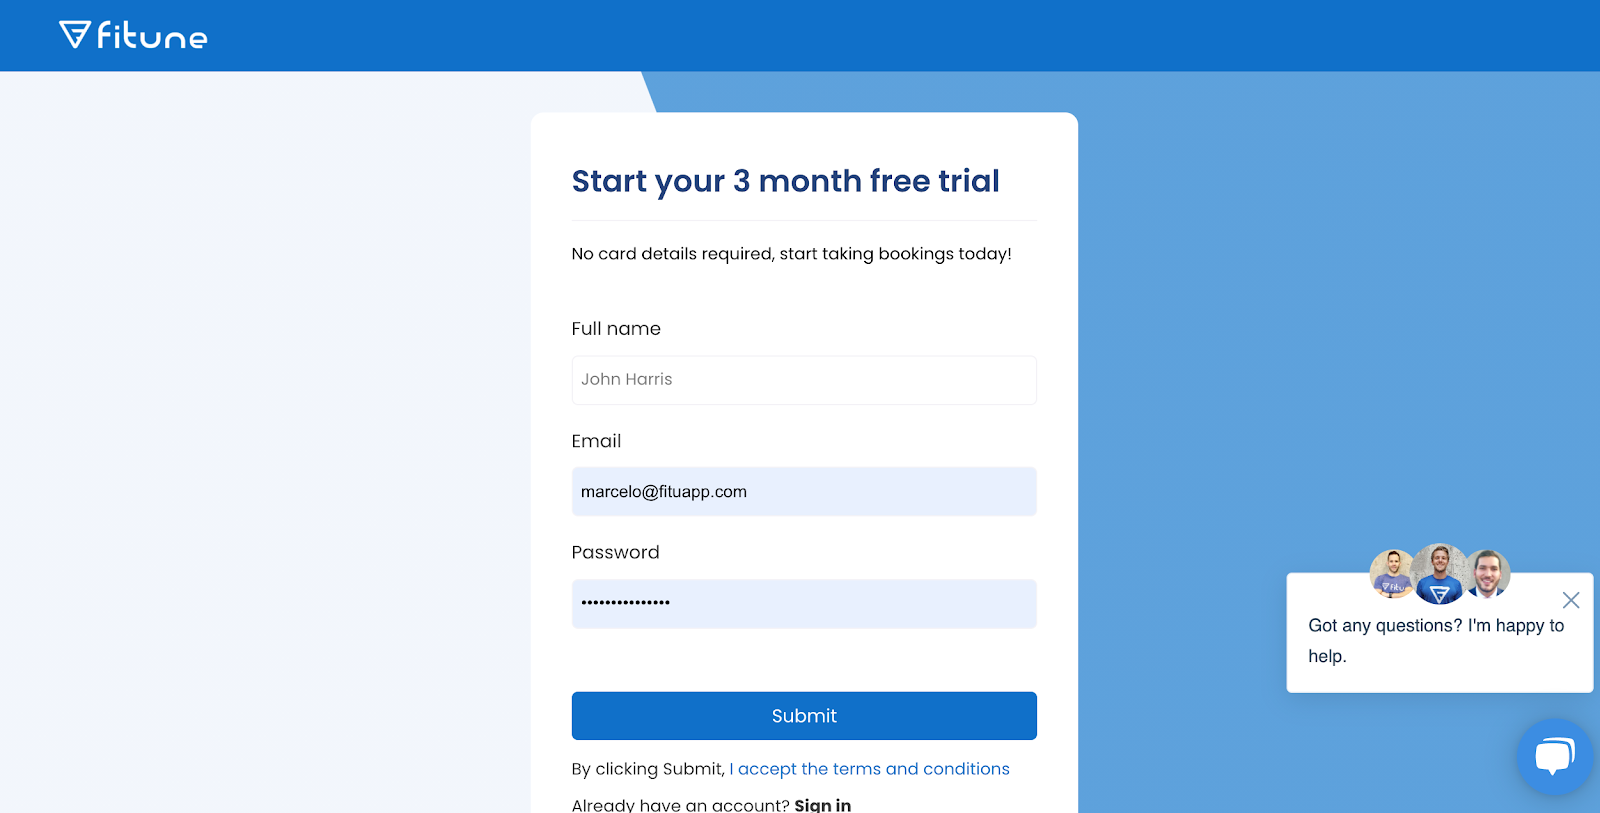
Step 1: Create a free account
You can create a free account here
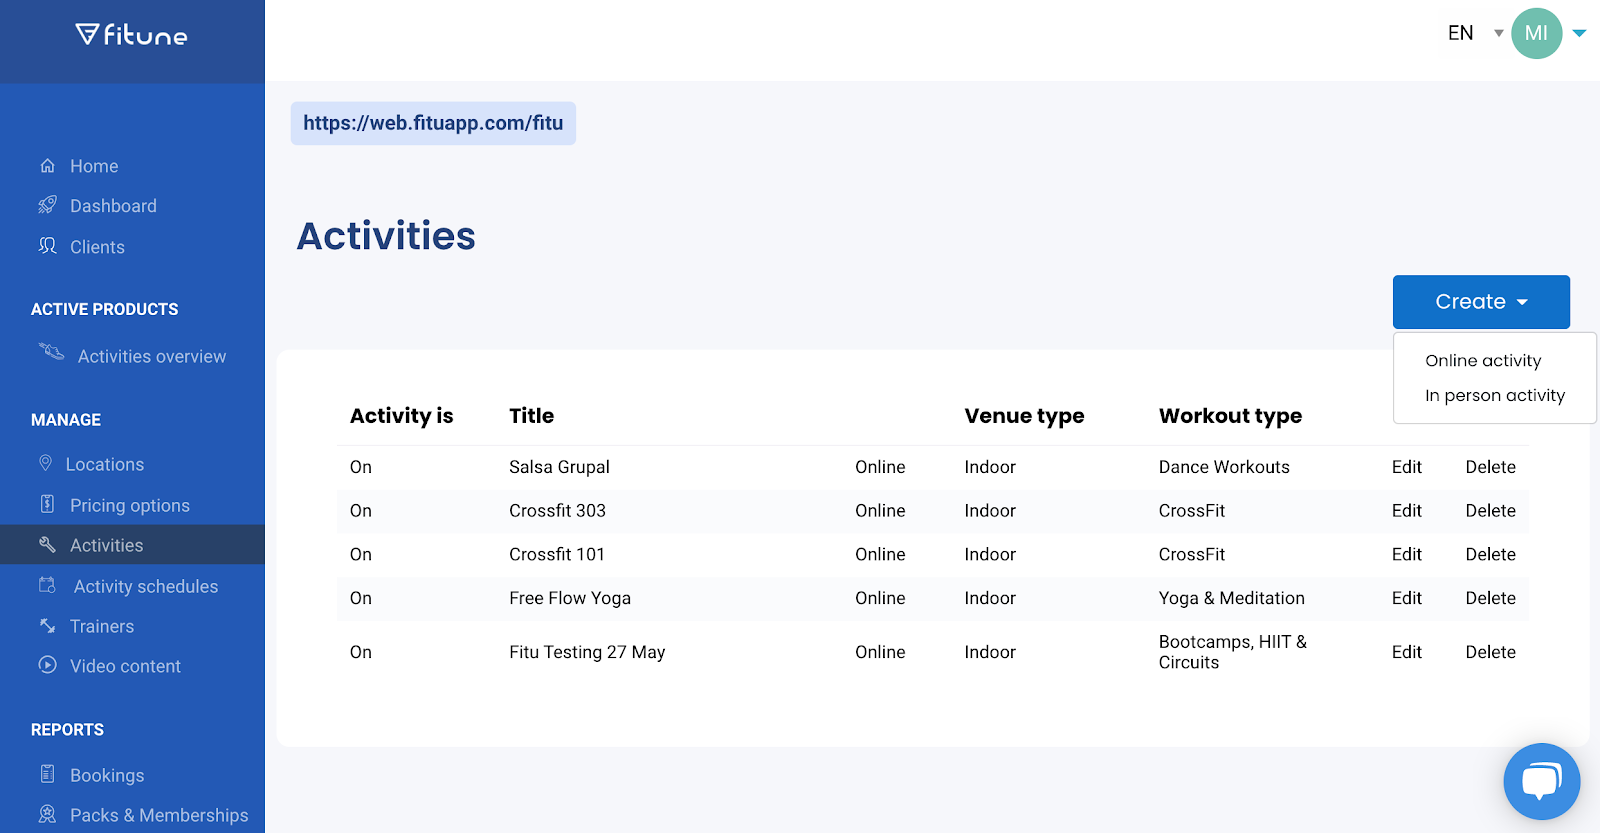
Step 2: Create an activity
Go to ‘Activities’ in the left pane, click on “Create” and choose whether you want an online or in-person activity. Simply fill in the details of your class and press ‘’save activity’’.
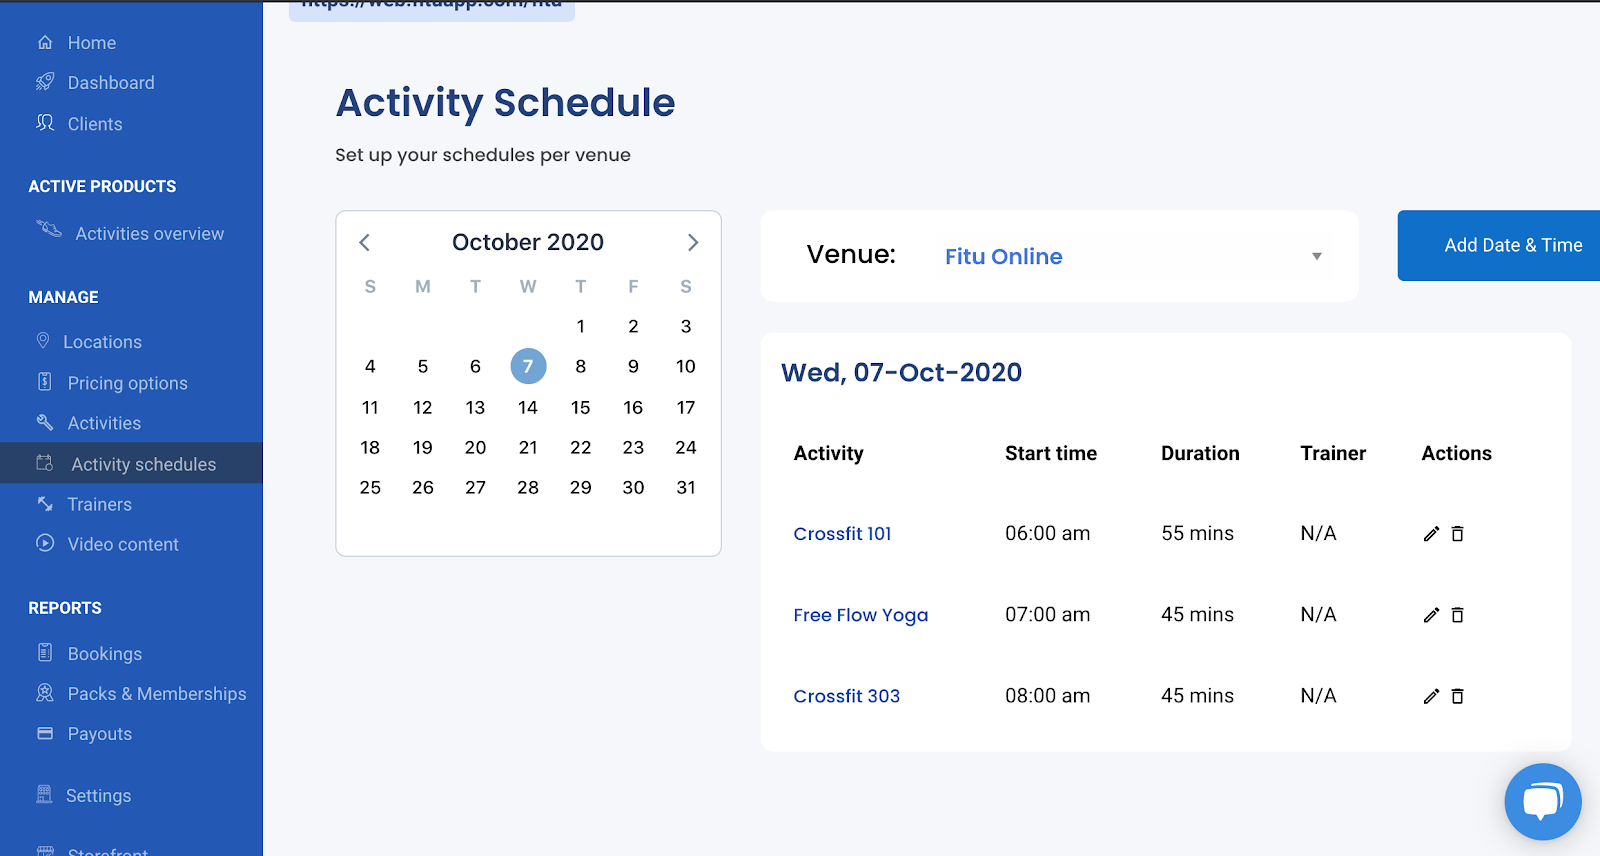
Step 3: Set your schedule
Now your activity has been created, you can add a schedule. Go to “Activity schedules”, select the starting date and venue, and click on “Add Date & Time”. Fill in the information and set your class times.
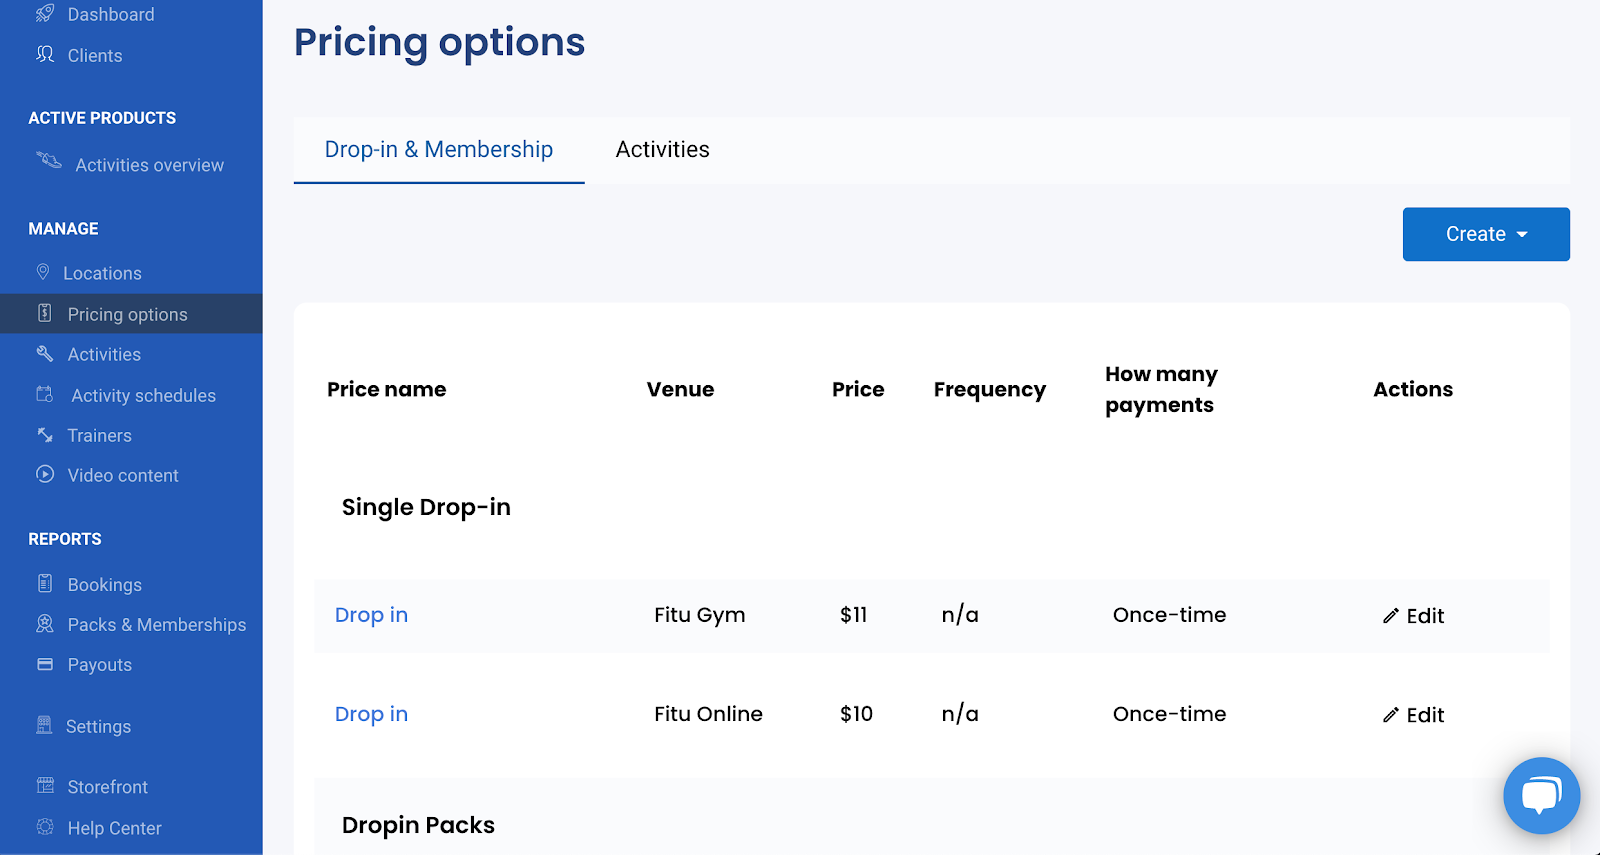
Step 4: Set up your pricing options
We give you many different options for your pricing such as packs (bundles and memberships, but for this tutorial we’ll focus on setting a pay-as-you-go dropping price.
Simply go to “Pricing Options”, and use the ‘’edit’’ button to change your drop-in for the entire venue. If you’d like to change the price per activity, regardless of the venue, press the ‘’activity’’ price.
Step 5: Add a livestream link (optional)
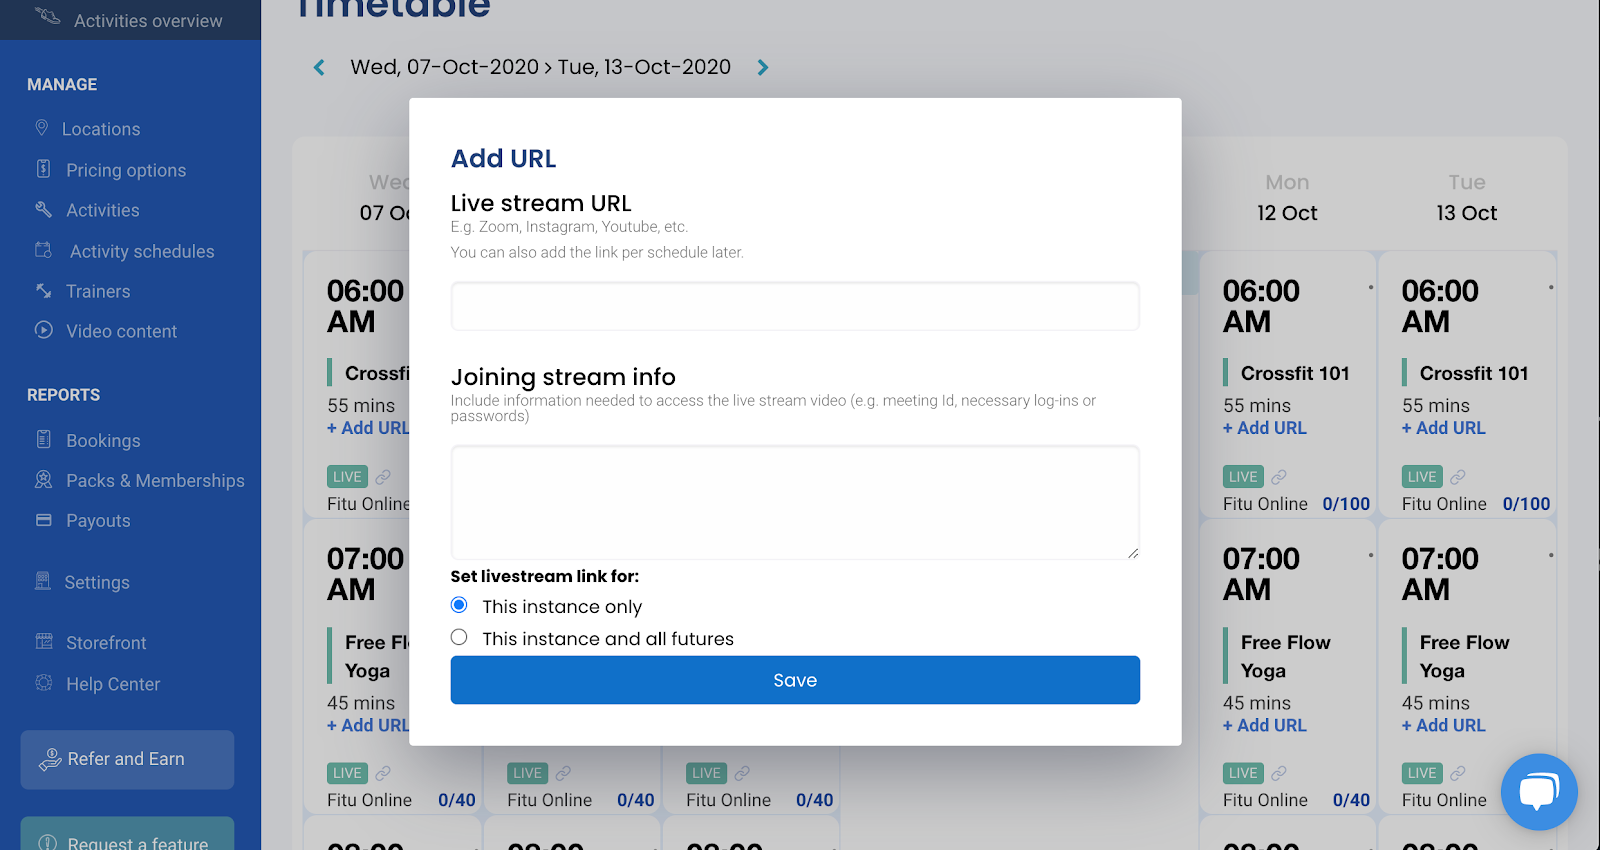
If you’re teaching virtually you can add a livestream link to your scheduled activity, we’ll then automatically send out the details to the people who booked. We send this out 20 minutes before the activity starts.
You can do this in 2 ways. If you’re using Zoom you can use our Zoom integration to seamlessly link up your account and automatically add all of your live-stream links.
Using a different streaming provider? No worries, you can still set up your link in a few clicks.
Simply click on “Activities Overview” on the left pane, this is your time table. Select the activity you just created with your desired timeslot, and click on “ + Add URL”. Fill in the information.
That’s it, you’re all set to receive your first bookings. To view your storefront, go to the ‘’home page’’ and press the link in the top left corner of your screen.


.webp)


